How to replace a water heater
- bradleyserranomark
- Aug 7, 2025
- 5 min read
How to Replace a Water Heater: A Complete DIY & Pro Guide
A water heater is one of the most essential appliances in your home. From morning showers to dishwashing and laundry, hot water plays a crucial role in everyday comfort. But like all appliances, water heaters don’t last forever. When yours stops working or starts leaking, you may find yourself asking: How do I replace a water heater?
Whether you're a confident DIYer or planning to hire a plumber, this guide will walk you through every step of the process — from choosing a new unit to ensuring the installation meets safety and code requirements. We’ll also cover the tools you’ll need, safety precautions, and the most common mistakes to avoid.

Table of Contents
Signs You Need to Replace Your Water Heater
Can You Replace a Water Heater Yourself?
Tools and Materials Needed
How to Choose the Right Replacement Unit
Step-by-Step Guide: How to Replace a Water Heater
Common Mistakes to Avoid
When to Call a Professional
Final Thoughts
1. Signs You Need to Replace Your Water Heater
Before replacing your water heater, be sure that it truly needs replacement. Here are the most common signs:
Age: Tank-style water heaters typically last 8–12 years. If yours is older, replacement is usually more cost-effective than repair.
Rusty water: If your hot water has a reddish-brown tint, the tank may be rusting from the inside.
Leaks: Visible water around the base of the heater is a clear sign the tank is failing.
No hot water: If you’re getting no hot water and the pilot light or circuit breaker is functioning, your heating element may be dead.
Strange noises: Banging, popping, or rumbling sounds can mean sediment has built up inside the tank.
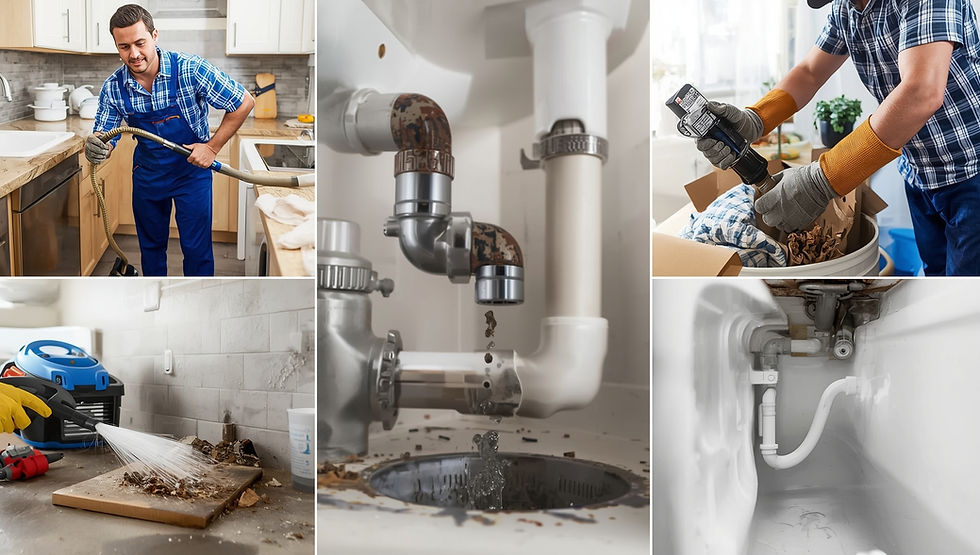
2. Can You Replace a Water Heater Yourself?
Yes — but with caution.Replacing a water heater is possible for an experienced DIYer, especially when it's a like-for-like swap (e.g., replacing a gas 40-gallon tank with a new gas 40-gallon tank in the same location).
However, it involves:
Plumbing (hot and cold water lines)
Gas or electrical connections
Safety components (T&P valve, expansion tank)
Venting (for gas heaters)
Local permit and inspection requirements
If you’re unfamiliar with any of the above, hiring a professional is safer and often required by law.
3. Tools and Materials Needed
Tools
Adjustable wrench
Pipe wrench
Pipe cutter
Screwdriver set
Tube bender (for copper lines)
Gas leak detector or soapy water
Multimeter (for electric models)
Bucket and hose (to drain old tank)
Dolly (to move water heater)
Materials
New water heater (same type and capacity)
Flexible water connectors
Pipe thread sealant or Teflon tape
Solder and torch (for copper pipes)
Vent pipe (for gas units)
Expansion tank (if required)
Pressure relief valve
Water heater pan (if in attic or closet)
Earthquake straps (if required by code)
4. How to Choose the Right Replacement Unit
When selecting a new water heater, consider the following:
Fuel Type
Gas: Requires venting and gas line connection. More efficient than electric in many areas.
Electric: Easier to install, no venting required, but typically higher operating costs.
Tank Size
Choose a tank size based on the number of people in your home:
1–2 people: 30–40 gallons
3–4 people: 40–50 gallons
5+ people: 50–80 gallons
Energy Efficiency
Look for models with Energy Star ratings and good EF (Energy Factor) or UEF (Uniform Energy Factor) ratings.
Space and Location
Measure your available space and be aware of clearance requirements and venting paths.
5. Step-by-Step Guide: How to Replace a Water Heater
⚠️ Important: Always check local building codes. Most jurisdictions require a permit and inspection for water heater replacement.
Step 1: Turn Off Utilities
Gas Water Heater:
Turn off the gas valve.
Shut off the cold water supply.
Electric Water Heater:
Shut off the breaker at the main panel.
Confirm no power is flowing using a multimeter.
Step 2: Drain the Old Water Heater
Connect a garden hose to the drain valve at the bottom.
Run the hose outside or to a floor drain.
Open the drain valve and hot water faucet to allow air in.
Wait for the tank to empty completely.
Step 3: Disconnect Water Lines and Utilities
Use wrenches to loosen the hot and cold water lines.
Disconnect the gas line or electrical wires.
For gas, unscrew the vent pipe from the draft hood.
Cap the gas line if necessary.
Step 4: Remove the Old Water Heater
Carefully lift and remove the unit using a dolly.
Have a second person assist if needed — tanks are heavy.
Step 5: Position the New Heater
Place the new unit in a drip pan (if required).
Ensure it's level and accessible for service.
Leave proper clearance on all sides.
Step 6: Install Water Lines
Connect flexible water connectors to the cold and hot ports.
Use pipe thread sealant or Teflon tape for leak-free joints.
If you're soldering, clean pipe ends thoroughly before applying heat.
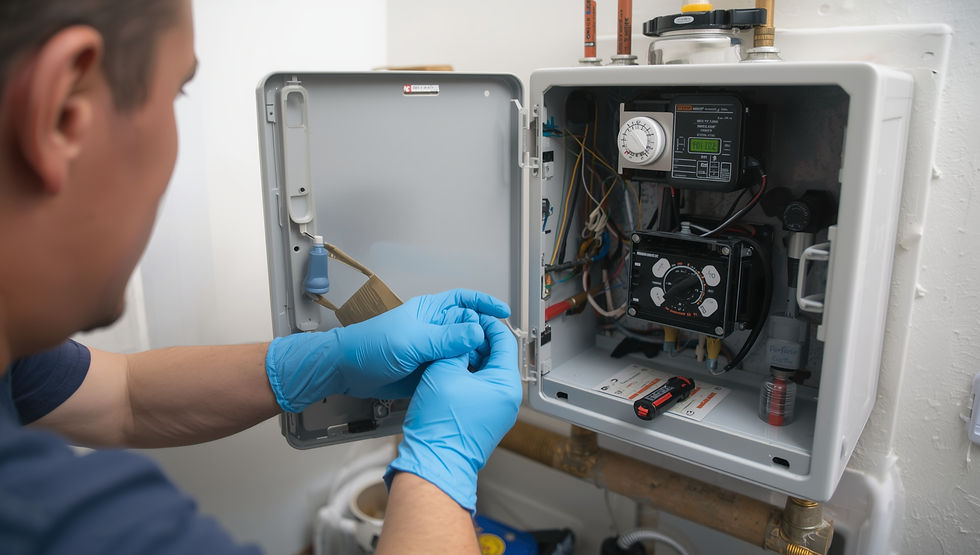
Step 7: Connect Gas or Electrical Supply
For Gas Units:
Connect the gas line using a union fitting.
Apply pipe thread sealant rated for gas lines.
Check for leaks using a gas leak detector or soapy water.
For Electric Units:
Connect electrical wires to terminals inside the junction box.
Make sure all wiring is properly grounded.
Step 8: Install Safety Components
Install the temperature & pressure relief valve on the side port.
Attach a discharge pipe (must point downward within 6 inches of the floor).
Install an expansion tank if required (especially for closed systems).
Strap the unit if seismic bracing is required.
Step 9: Fill the Tank
Open the cold water valve slowly to fill the tank.
Leave a hot water faucet open to purge air from the system.
Check all connections for leaks.
Close the faucet once water flows steadily.
Step 10: Restore Power or Gas
For Gas:
Open the gas valve and relight the pilot or follow electronic ignition instructions.
Check venting for proper draft.
For Electric:
Flip the circuit breaker back on.
Allow 30–60 minutes for the water to heat up.
Step 11: Schedule an Inspection (If Required)
Contact your local Building Department to schedule an inspection.
Keep all documentation for future reference or resale.
6. Common Mistakes to Avoid
Skipping the permit: This can lead to code violations, insurance issues, and failed inspections.
Poor venting (gas units): Improper venting can lead to carbon monoxide buildup.
Incorrect T&P valve installation: This safety valve prevents dangerous over-pressurization.
Wrong tank size: An undersized heater can’t meet demand; an oversized one wastes energy.
Not checking for leaks: Even a small leak can cause major damage over time.
Mixing up hot and cold connections: Reverse connections reduce performance and can damage the heater.
7. When to Call a Professional
While DIY installation is legal and possible in many areas, it’s not for everyone.
Call a professional if:
You’re unfamiliar with plumbing, gas, or electrical work.
Your unit is in a hard-to-access space (like an attic or crawlspace).
You’re switching fuel sources or installing a tankless system.
Local codes require a licensed installer.
You want peace of mind and warranty protection.
A licensed plumber can:
Pull the required permits
Ensure code compliance
Install your heater safely and efficiently
Provide warranty-backed service
8. Final Thoughts
Replacing a water heater isn’t the most glamorous home improvement project — but it’s one of the most important. Whether you’re upgrading to a more efficient model or your old unit just quit, knowing how the replacement process works can save you time, money, and frustration.
While DIY replacement is doable for handy homeowners, it comes with serious risks — especially when gas or electricity is involved. For most people, hiring a licensed plumber is the best way to ensure safety, compliance, and long-term performance.

Comments